I (along with many others) want to use AI to create videos with consistent looking characters across shots. AI can generate some amazing shots, even with open source, but it frequently struggles with consistency. From my reading, if you have a 2D image of a character you like, you can improve the quality of AI using that artwork using the ComfyUI IPAdapter node.
This blog post documents my initial experiments. My lack of success may be due to lack of experience, but I thought I would share my findings in case of use to anyone else facing similar frustrations. You are not alone! All the posts I find out there seem to focus on making everything look wonderful, showing only the best results.
In my case I have two use cases I am exploring towards creating a longer video:
- Consistent character models for the main characters – normally achieved by training a “Lora” model from a set of images showing the character from different angles and with different expressions.
- Consistent characters for bit-parts – characters that I may only use in one or two shots, so don’t want to have to spend the extra time to train up a full Lora model.
Why the different approaches? Bit-parts I can generate the shot 20 times if I need to until one comes out right. I don’t want to do that all the time however, so the main characters are worth the extra investment of time upfront.
My summary:
- IPAdapter is pretty good.
- Not good enough to turn an image into different views for training a Lora.
- Might be good enough for bit-actors with say a single line of dialog.
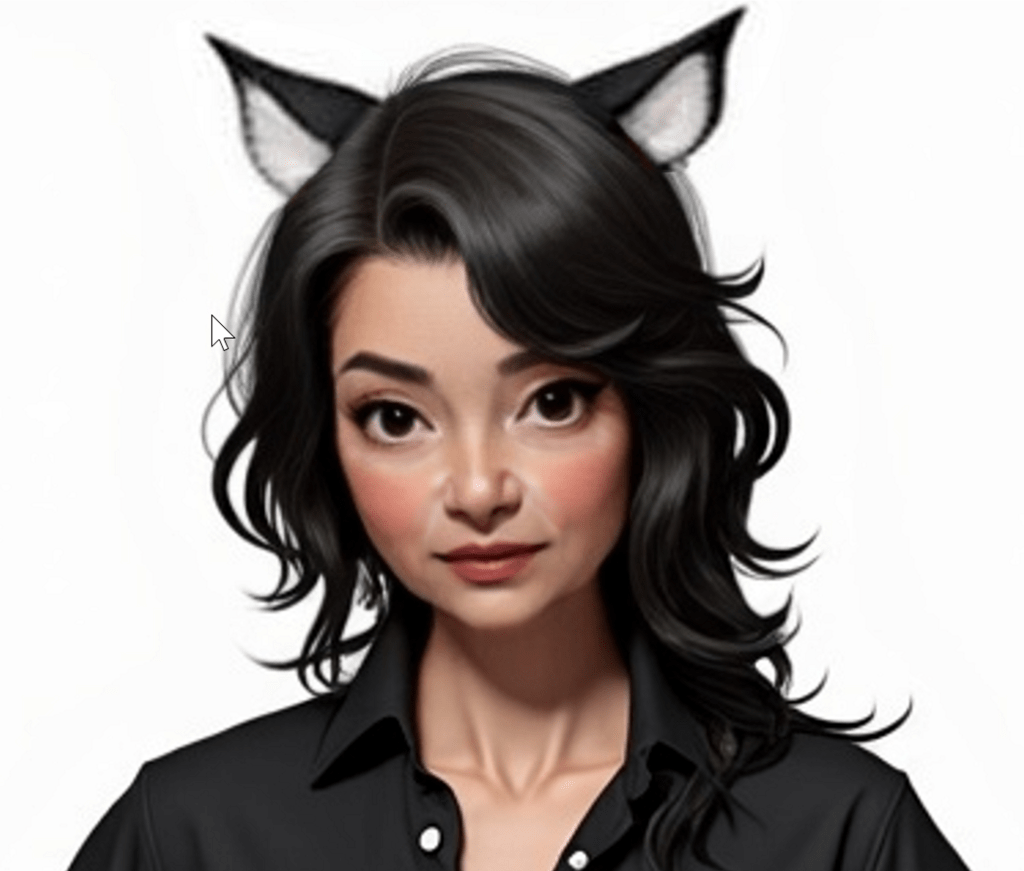
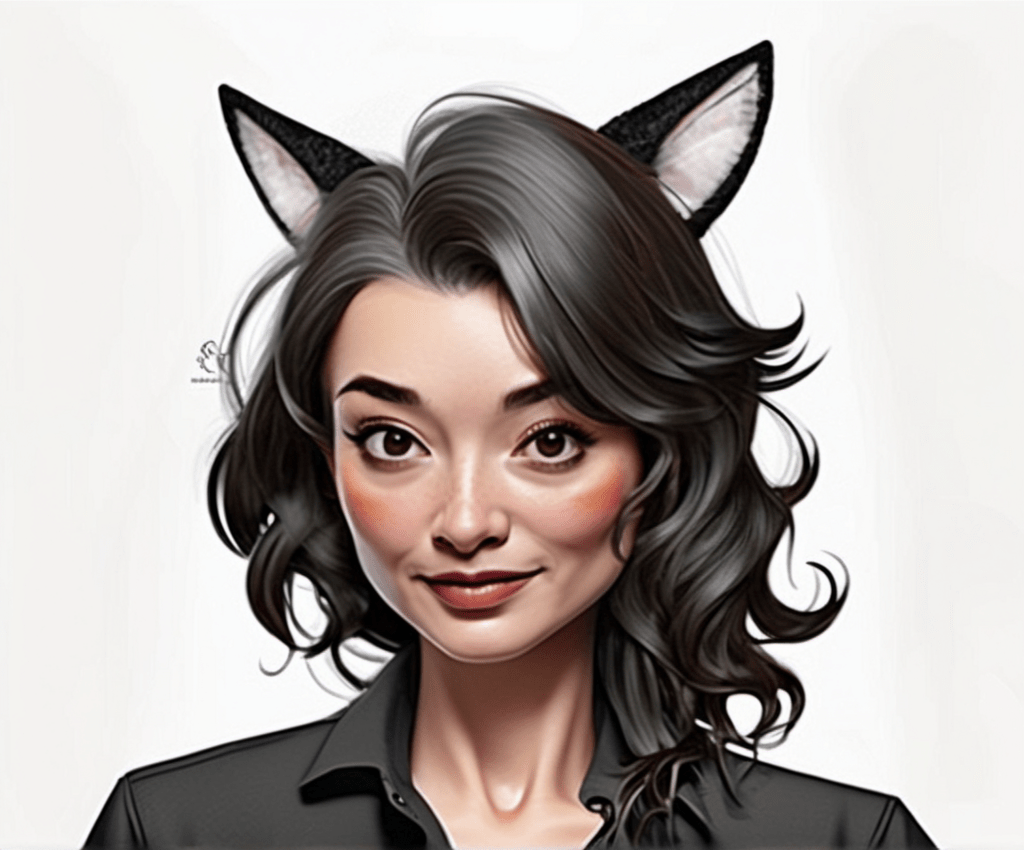
The following is the original image I used for training. Oh, and a small piece of advice! Check your original image closely! I did not notice I took a screenshot and it included my mouse cursor!
The base workflow I tested was:
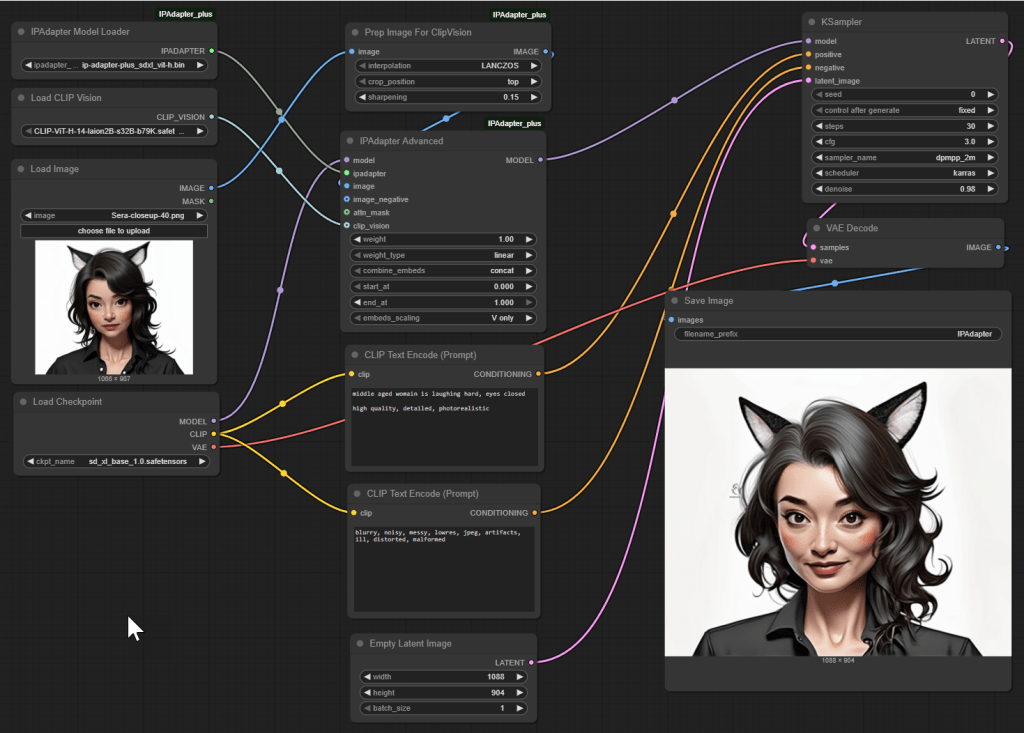
To summarize:
- Load Checkpoint to load sd_xl_base_1.0.safetensors – the base Stable Diffusion XL model.
- IPAdapter Model Loader with ip-adapter-plus_sdxl_vit-h.bin.
- Load CLIP Vision with CLIP-ViT-H-14-laion2B-s32B-b79K.safetensors. CLIP Vision is a pretrained vision encoder (ViT-H) that converts the reference image into a feature embedding. This embedding that represents the image semantically is then passed to the IPAdapter.
- Load Image to load my reference image.
- Prep Image for ClipVision to scale it down for the IPAdapter node.
- IPAdapter Advanced, the core node of interest, is fed from the first 3 models and the scaled-down image. The node receives the reference image embedding (from CLIP Vision), the SDXL base model (Checkpoint), and the Adapter model weights. It outputs a modified model that incorporates the image guidance. This modified model is then passed to the KSampler, which uses it — along with the positive and negative prompt embeddings and the latent image — to generate the output.
- CLIP Text Encode (Prompt) for specifying the positive text prompt. I used prompts such as “Middle aged woman, laughing, eyes closed. High quality, detailed, photorealistic.” The node uses the CLIP text encoder associated with the base model loaded via the Checkpoint node. This encoder is not wired manually — it is inferred internally by the node based on the loaded model. Settings such as cfg and denoise of the KSampler affect how much impact this prompt has.
- CLIP Text Encode (Prompt) (a second one) for negative prompts. I used “blurry, noisy, messy, lowres, jpeg, artifacts, ill, distorted, malformed”. The “clip” input again comes from the Load Checkpoint node.
- Empty Latent Image which, since its empty, only controls the size of the final result.
- KSampler, the heart of AI image generation. It takes the IPAdapter output along with the positive prompt, negative prompt, and empty latent image and generates an output latent image.
- VAE Decode to turn the latent image format used internally by the AI back into a useful image format for exporting. The vae input comes from the Load Checkpoint node.
- Save Image to finally save (and preview) the generated image.
If you are learning, it can be fun to try and recreate the workflow from the above instructions to see how you go. The node names (and inputs and outputs) change over time, which always makes things fun. You can also have endless hours of fun trying moving nodes around to make it look nice. The above I tried to limit the width to fit into this blog post. To find the right model files to download, I used Google Searches of their filenames.
Sometimes IPAdapter for me generated results that were … creative. This one even had an Addams family vibe with Thing making an appearance.
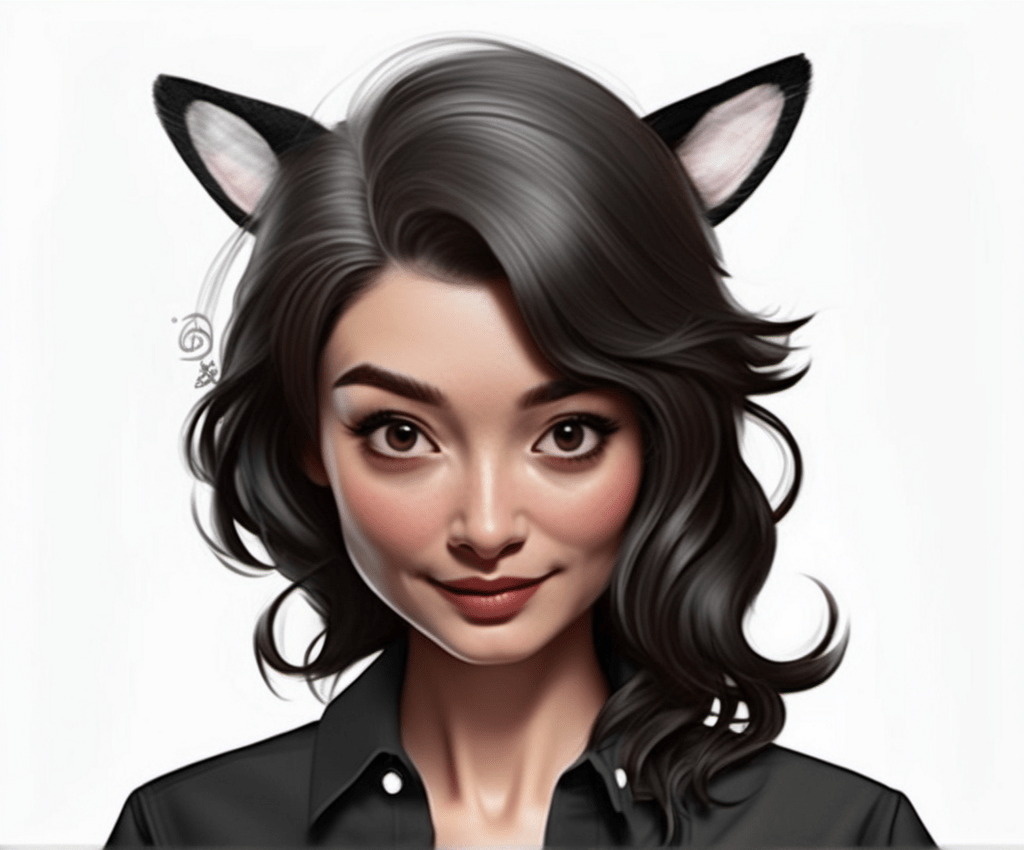
Sometimes the character came out looking younger, which raises questions in my mind about training bias for data sets. Are these models trained on more younger people’s images than older people’s? I want accuracy, not a fountain of youth.
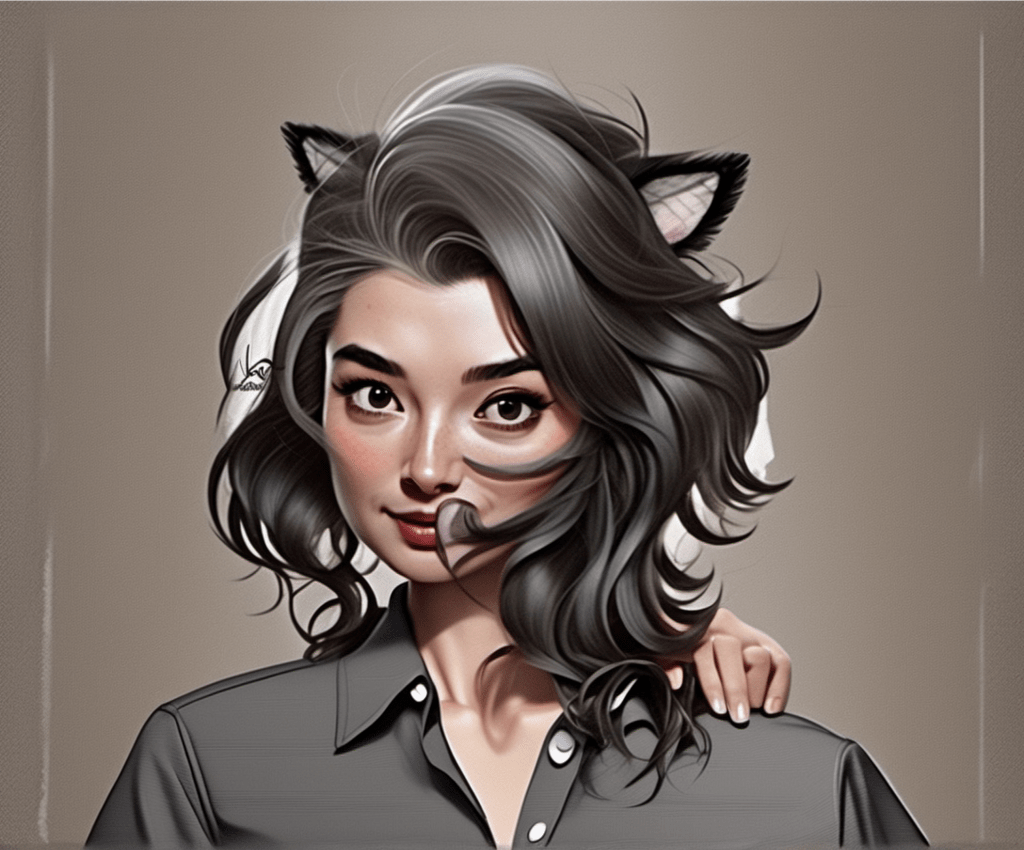
Other times the art style would come out different.
After an hour of tweaking settings, many of the images were “close”, but not close enough for me to use in training a Lora model (used for improved character consistency). It might be useful for bit-characters where consistency is not that important.
I still plan to do some more work combining the above with character poses, to see if I can regenerate the original character in a specific pose. But for now, enough. It is not a silver bullet.
Oh, and if you want a fun challenge, find the mouse cursor in the original image and then see what the AI did to it in each of the above output images!
ADDENDUM August 14th
I came across this video which I found quite useful. It is not exactly the same problem as what I was trying to solve, but it showed how to use IPAdapter quite clearly. It also showed chaining IPAdapters.
The focus of the video is getting multiple faces into one image without all the faces looking like twins. IPAdapter is used, but combined with masks. It demonstrates using a first mask for the left half of the screen for one IPAdapter (fed from a first directory of reference face images) and a second mask for the right half of the screen for a second IPAdapter (fed from a second directory of reference face images). That makes it easier to create an image with multiple characters, each with a distinct face.
I also liked the video as it shows the full workflow step by step with detailed explanations, great for people like myself trying to learn.
