In NVIDIA Omniverse (and OpenUSD in general), animation clips are tied to a specific set of skeletal bone names. This is fine if you create your own animation clips per character, but there are many libraries/stores of animation clips available, and they use different bone names in the animation clips.
Example Stores
Actor Core store from Reallusion (also available via the “Asset Stores (beta)” window inside Omniverse USD Composer):
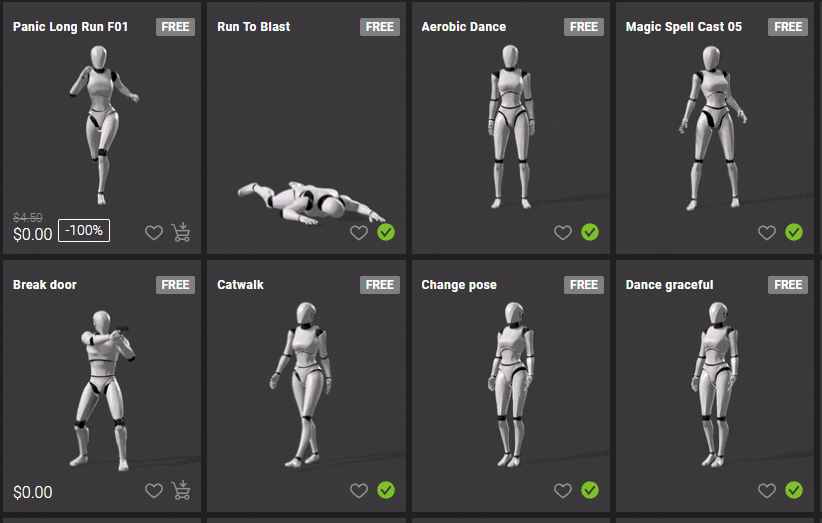
Mixamo from Adobe:

Example Bone Hierarchies
Example bone names for the female reference character in Actor Core:

Example bone names used by reference characters in Mixamo.
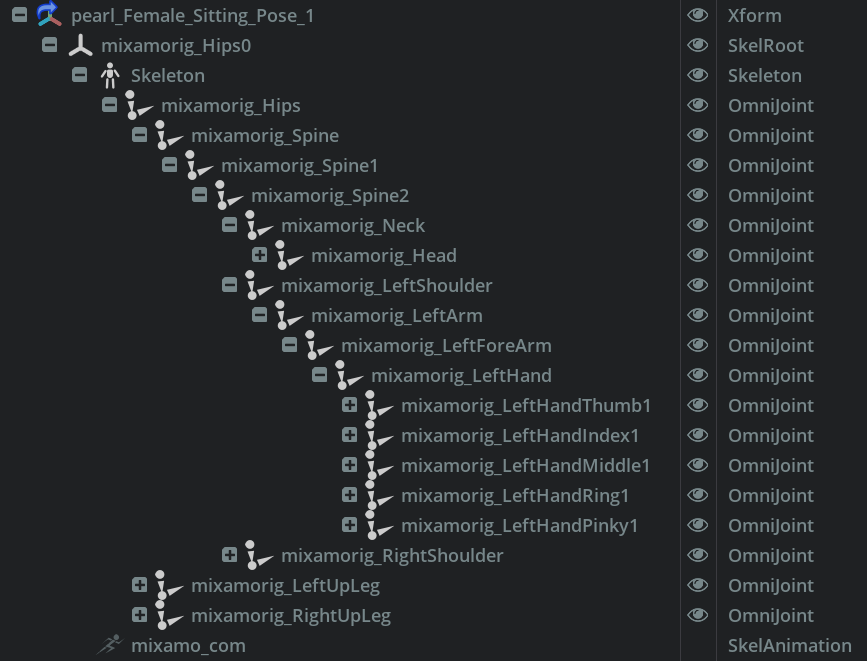
Example bone names for a character created in VRoid Studio, my target character for animation clips.

Unity and Humanoid Animation Clips
Different platforms have different solutions to the problem of inconsistent bone names.
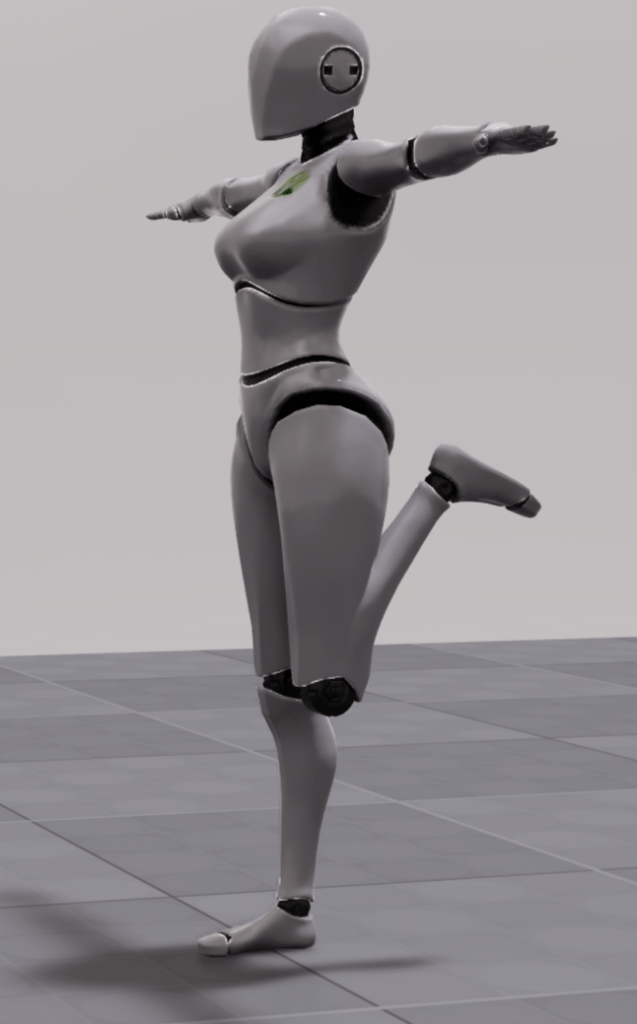
For example, in Unity there is the concept of “Humanoid Animation Clips”. Humanoid clips do not specify bone rotations, but rather muscle weights. In real life, each human bone joint does not have complete freedom of rotation, so humanoid clips specify values for what movements a human can do (“muscles”), then each character can define a mapping (via an “Avatar Description”) from muscles names to bones rotation ranges. For example, the lower leg can go from straight down (standing) to straight up behind the body, but not sideways and not forwards. So there is a single muscle for the knee joint where 1 means a straight leg (standing), 0 means the lower leg is 90 degrees (sitting), and -1 means the leg is up behind the body.

Example animated pose using Humanoid muscle weights: Right leg weight = 1 (straight), Left leg weight = -1 (kicked up behind body).
Omniverse Retargeting
NVIDIA Omniverse uses a different approach called retargeting. The retargeting system has defined a set of standard tag names for bones, then for each skeleton you can assign tags to bones. Animation clips are defined in terms of bone names for a character, so to reuse that clip on another character with different bone names, bone names are mapping from the original character to a new character by looking for pairs of bones in the old and new character with the same tag.
Here are example tags assigned to the source character. There are a large number of addition tags you can decide to bind to bones in your character. Normally I would fill out as many joints as possible, but this example only has bound the minimum required tags. (If there is no overlap in tags, the animation cannot be retargeted.)
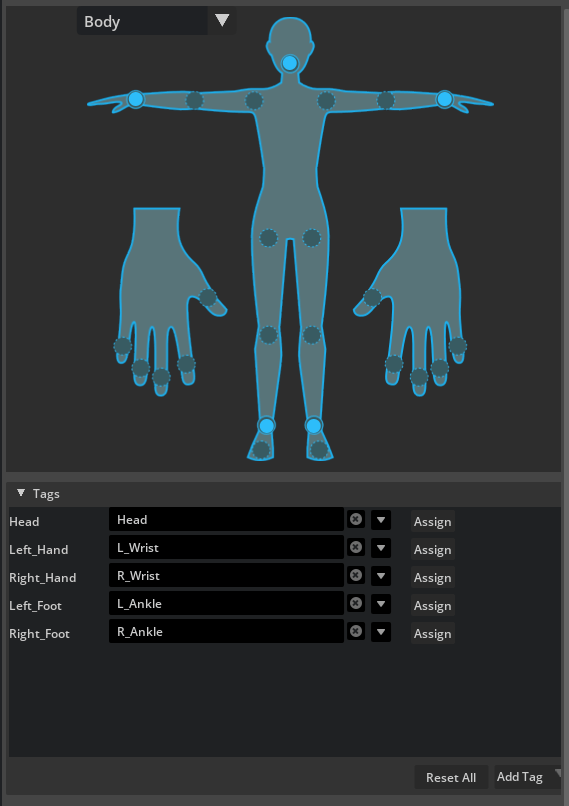
Here also an example where tags are applied to bones in the destination skeleton hierarchy. Note the same tag names are used, but the bone names are different.

To summarize:
- An Animation clip identifies character (the source “Skeleton” prim) that the animation is defined for (highlighted with red in the diagram below)
- The name of an animated bone is looked up in the retargeting tags (purple on left)
- The corresponding tag name is found (if present) in the destination character tags (green)
- Tags are mapped to the appropriate bone name in the destination character (purple on right)

One problem with this scheme is animation clips (unlike Humanoid clips in Unity) cannot be used on a different character unless the original character is also loaded into the stage. The character (or to be precise, the skeleton for the character, not the meshes) is how the tag names are worked out for the bones. The character does not need to be visible, but does need to be present. (It feels a bit clunky to me, but it is what it is.)
If you get an animation clip from Actor Core, Mixamo, the Unity Asset Store, etc. you need to:
- Bind the animation clip to the original character model (use Add / Animation / Skeleton Binding to add the property to the SkelAnimation for making this binding).

- Add retargeting tags to all the character bones in the retargeting window that the animation is for
- Save the character and the animation clip(s) that use that character to a file
- The target character must also have the retargeting tags added (you only need to do this once)
Getting Organized
If you download multiple animation clips that share the same character model (which is common from a store), all of the animation clips can bind to the same source character model. This does mean however you need to be organized. You need to work out how you are going to load up the source character for each animation clip you load. For example, you could:
- Have a single character and load all the animation clips bound to it as children of that character at once. This can result in unused animation clips being loaded.
- Have a file per animation clip where that clip also loads the character model. This can result in the same model being loaded multiple times.
- Require the stage using an animation clip to load both the animation clip and the model so they can link together. This requires discipline to load the right assets at consistent prim paths.
Conclusion
Retargeting in Omniverse is useful to allow animation clips to be reused across humanoid characters, but I am still personally deciding which is the best way for my own project to organize the clips given the source models also need to be loaded.
So how do I plan to manage my animation clip files?
- My first plan is write a Omniverse Kit extension that creates a copy of an animation clip, renaming the bones as required to VRoid Studio bone names. At the moment, all of my characters are VRoid Studio characters, so this should be fine. In this case, I don’t need to sorry about retargeting of the cloned animation clips. (If however I want to include characters from other tools later, then I would have to change my approach.)
- Alternatively, I may define characters with logical groupings of animation clips (e.g., common movements, dancing, fighting) so I do have multiple character files to load, but it’s not one per animation clip.
Another issue for myself however is the current Omniverse Sequencer is somewhat limited. For example, you cannot blend from one clip into another (there is an abrupt cut). I like blends. I also want to layer multiple clips of hand poses, Audio2Face facial animations, procedural “look at target” eye and head turn controls, and more. So I think my next decision is how to tackle the sequencer challenge, and see if that has impact on how I want to manage animation clips. For example, do I want all animation clips attached to characters so I can say “walk” and it will find my preferred walk animation clip for that character (characters may have different clips to give them more individual personality). I also want custom animation recorders for individual shots.
More thinking and research required!
