If you have been following this series of posts, you will know I am learning how to create a LoRA character model for consistent character rendering with Wan2.1 in ComfyUI. There are lots of videos and posts, but they frequently have problems when I try them. So here I start with generating faces until I find one I like, then generate different expressions of the face, then add head rotations, and finally in this blog I generate full body shots with clothes from multiple angles. With this, I should be ready to train up my first LoRA character model!
LoRA models can be used for several circumstances, but here I use them for a character consistency across shots. To train a LoRA model, I need to provide a range of facial expressions as well as the character from different angles. It is frequently recommended to have 10 to 20 images of your character.
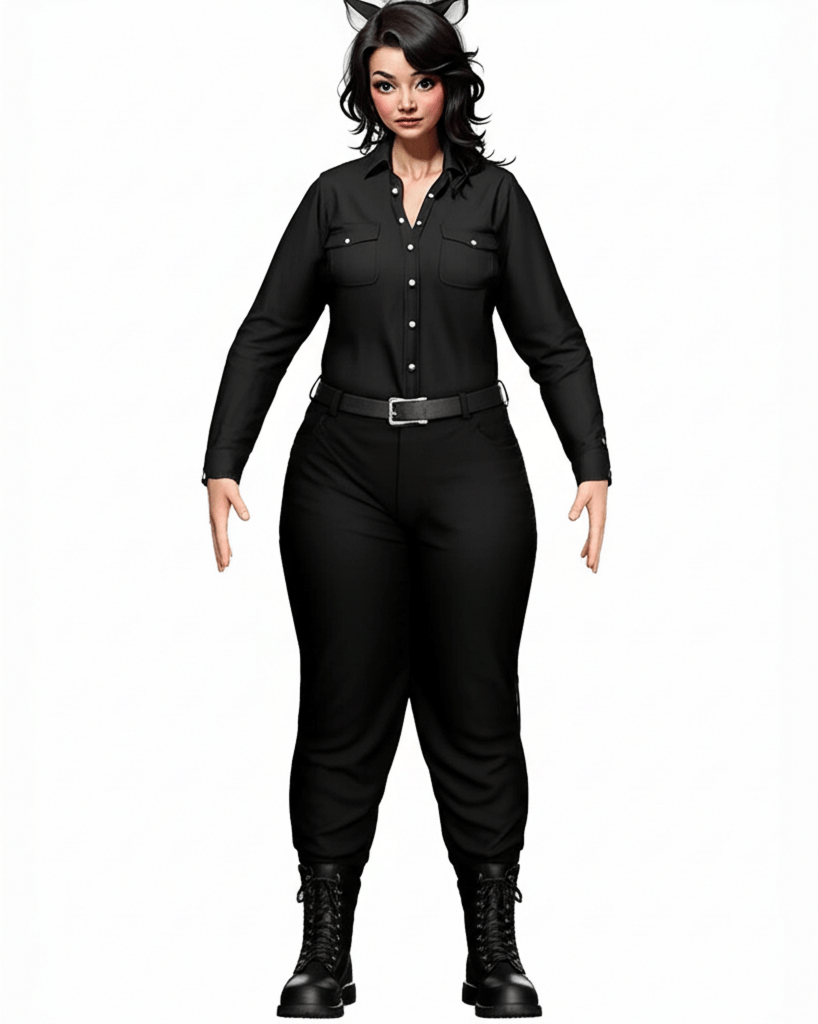
For this final stage of creating full body shots, I used the Wan2.1 Text to Video mode to generate a series of short videos (a few seconds each) of the character spinning around. Creating multiple videos gives me more variety to pick between; getting the character to spin gives me different profiles of the character. I then extract a few single frames from my preferred video clip to use for training the LoRA model. Is this efficient? Maybe not! But all the other approaches I have tried so far have not given me the results I desire. I also get to see the character moving around, helping me envisage with the final result is likely to look like.
Again, I started with the primary head image of my character, removed the background (to avoid distractions), then placed the head in the final position I want in the image. That is, the head is at the top of the image, I erased everything else.
Here was my original image:
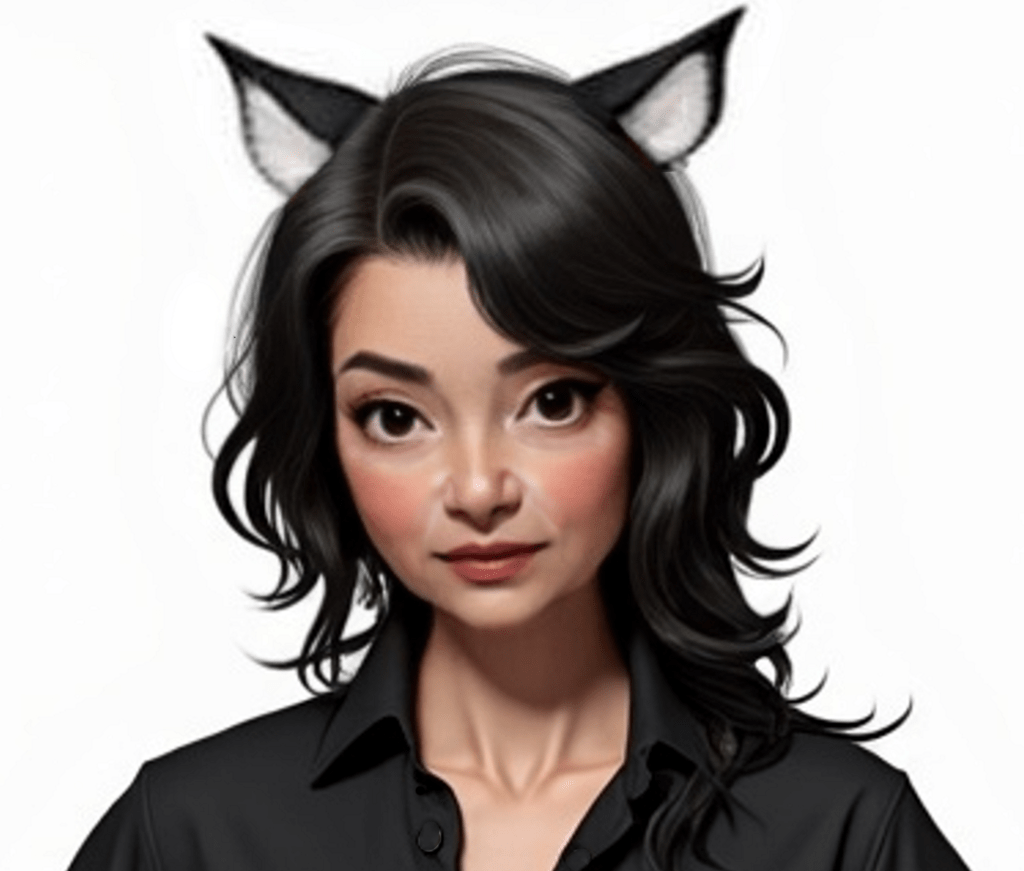
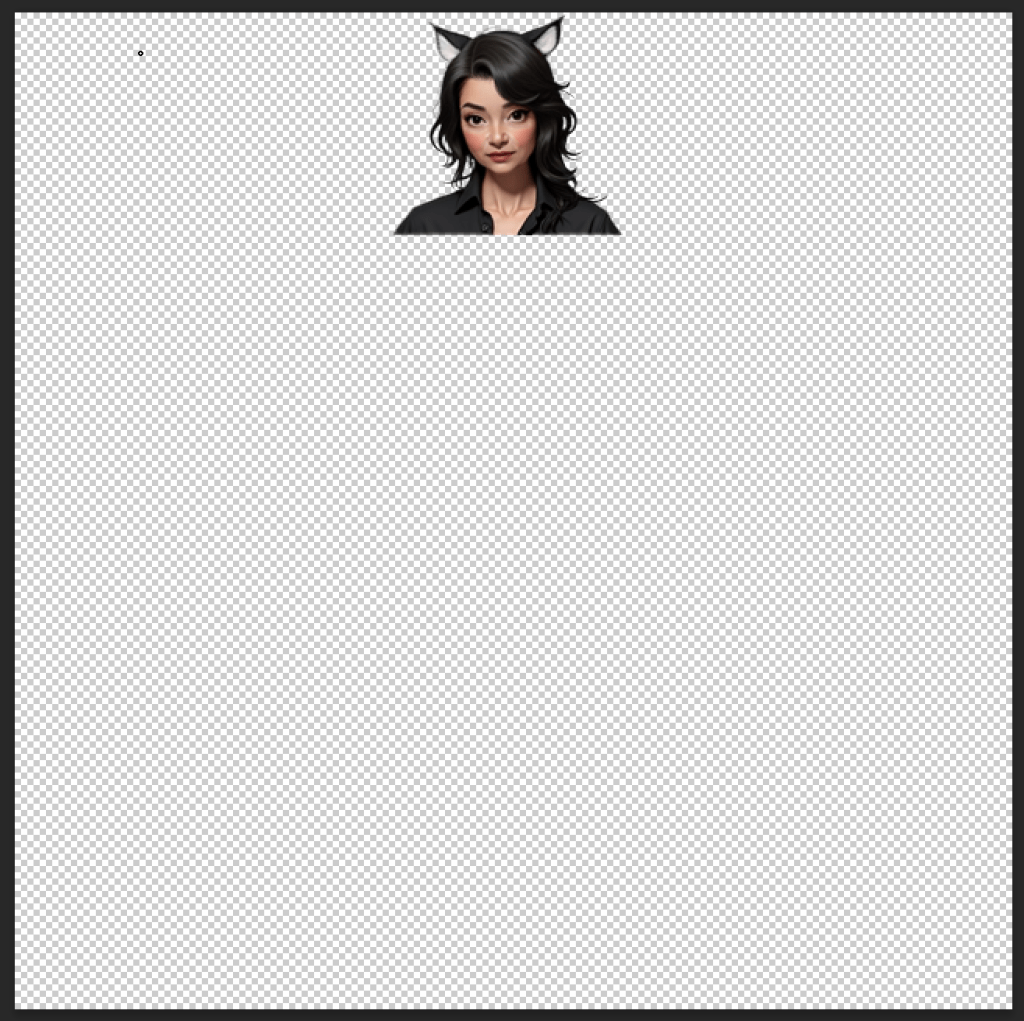
Here is the image with background removed and placed with sufficient space to fill out a full body shot. I used Photoshop in this case, but I plan to explore ComfyUI nodes soon to see if I can automate it. I did find that using Photoshop gave me more control over the background removal process, especially around the cat ears since they were white and the background was white.
Below is the workflow I used. This is based on the Wan2.1 Text to Video sample workflow from the ComfyUI documentation site. The workflow extends the above head and shoulders into a full character with clothes and movements. I stripped down the ComfyUI supplied example and formatted it for the blog post. I am now using the 14B Wan 2.1 model and I ran this on a desktop with an RTX 5090 (32GB of GPU memory).
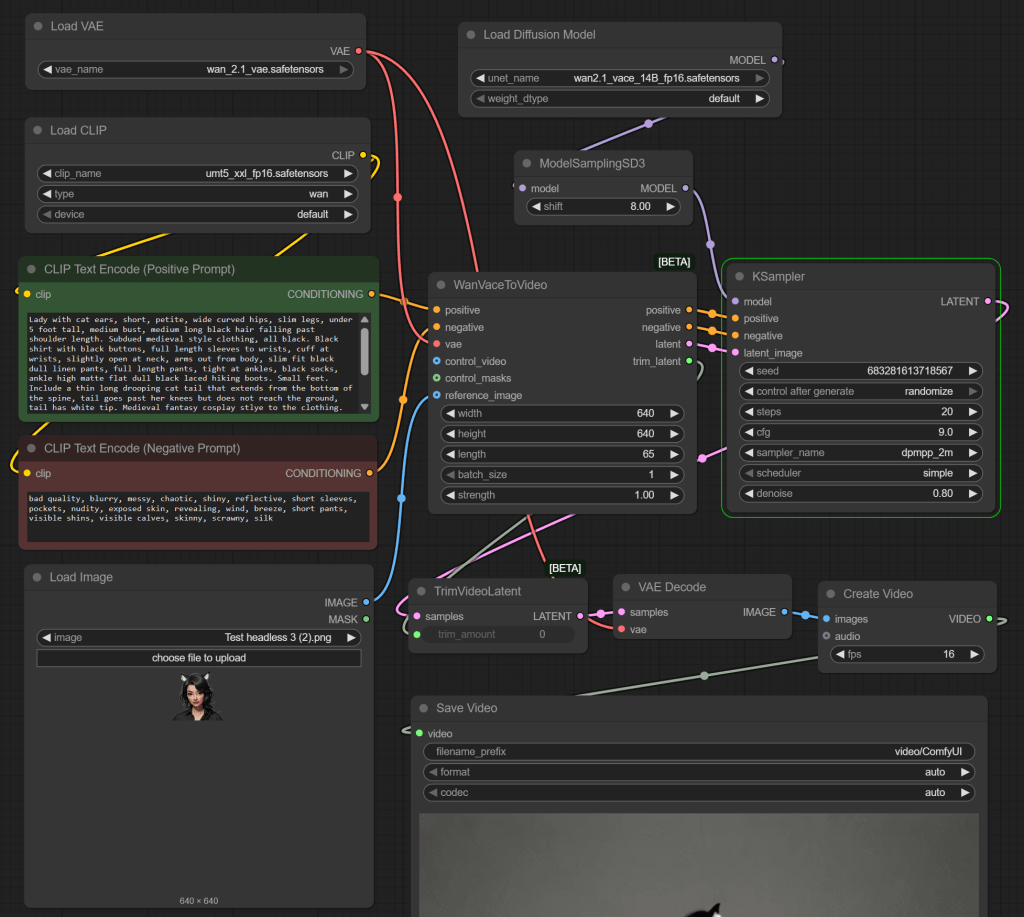
The nodes are as follows:
- Load Diffusion Model to load wan2.1_vace_14B_fp16.tensors
- ModelSamplingSD3 to adjust the Wan2.1 model to be compatible with the older format understood by KSampler
- Load CLIP is used to load umt5_xxl_fp16.safetendors (with type ‘wan’)
- Two CLIP Text Encode nodes for positive and negative text prompts, with “clip” inputs from the Load Clip node
- Load VAE for wan_2.1_vae.safetensors file (the video/latent image encoder/decoder)
- Load Image to load up the image of a head, placed strategically in the overall screen – fed into “reference_image” of WanVaceToVideo
- WanVaceToVideo – takes the positive and negative text prompt embeddings, the VAE, and the head reference image
- KSampler with model from ModelSamplerSD3, Positive, Negative, and Latent Image could be forwarded as needed. I went with dpmpp_2m as the model and cfg of 0.9
- TrimVideoLatent takes trimming data from the WanVaceToVideo – I assume it generates some extra leading and/or training frames to get better consistency across frames at the start/end
- VAE Decode to map from latent back to normal image
- Create Video to arrange images/video clips into a video
- Save Video to save the final result to disk
The original demo workflow had additional nodes that were disabled:
- Load Video –> Get Video Components –> Canny –> “control_video” of WanVaceToVideo
Canny is an edge detection algorithm, so it can transfer guidance from one video to another. For example, the outline of the face can encourage the diffusion model to put the face in the same place.
For the positive and negative prompts, I tried a series of fine-tuned adjustments to get closer to the result I was after. For example, I did not want high sheen clothing so started adding positive terms like “dull” and “matte” and negatives terms like “shiny”. I also wanted walking shoes, but I had a lot of problems then getting the pants to go down to the shoes. It feels like the model was trained with shorts as soon as hiking shoes were included. Here is the final prompt I ended up with. Could it be improved? Probably!
- Positive: Lady with cat ears, short, petite, curved hips, under 5 foot tall, medium long black hair falling past shoulder length, black shirt with black buttons, full length sleeves to wrists, simple cuff at wrists, one button open at neck, arms out from body, slim fit black dull linen pants, ankle length pants, full length pants, thin dull black belt, small silver buckle, black socks, ankle high matte flat dull black laced hiking boots. Include a thin long drooping cat tail that goes past her knees but does not reach the ground, tail has white tip. Lady turns around in a circle showing off her clothes. Plain background. 3d, realistic, detailed, textured.
- Negative: Bad quality, blurry, messy, chaotic, shiny, reflective, short sleeves, pockets, nudity, exposed skin, revealing, wind, breeze, short pants, visible shins, visible calves, skinny.
Here is a video of the concatenation of all the mini video clips I created along the way. You may spot transitions, such as remembering to include a cat tail half way through!
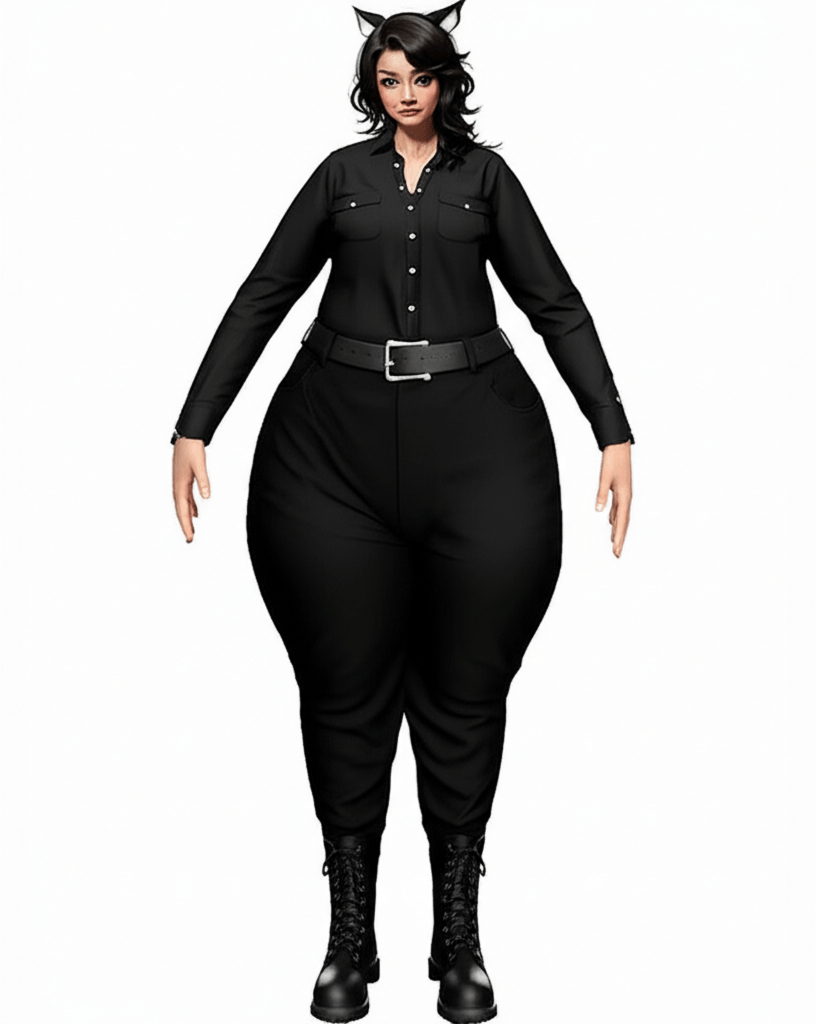
Out of all of those shots, I ended up with the following – the rest to be discarded. But I got the character I was after.
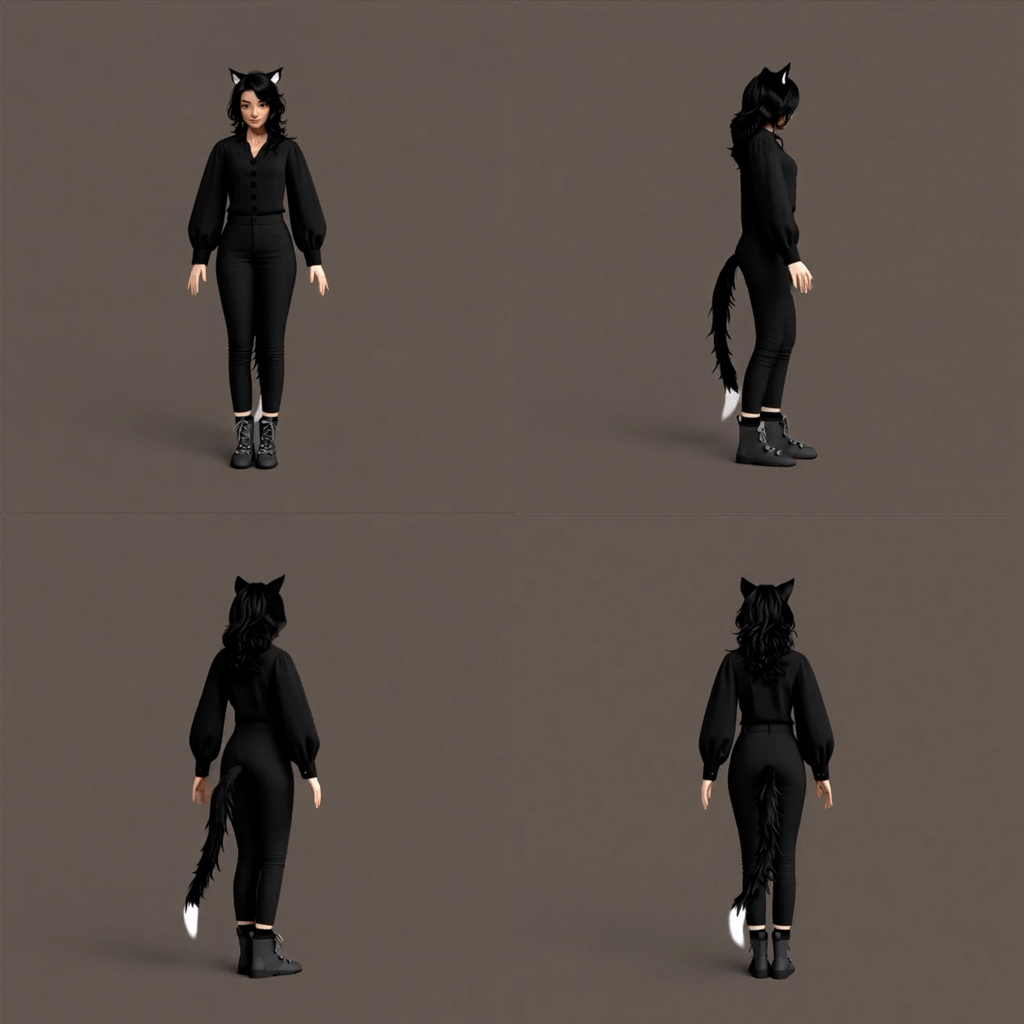
So the next step now is to gather up the above shots, combine them with the best selection of other head shots, and have a go at training a LoRA model! With Lora trained, I should be able to generate videos with a more consistent look across shots.
Addendum
I thought I would share a fun alternative approach (which did not work well in this case). I took the original head and ask Google Gemini to extend the body. This is a single test, so not proof its not a useful approach overall, but it does feel like using the same model for multiple tasks has the benefit of better consistency. If the model generated an image, it is more able to regenerate the same image again later. But still, the results were fun enough to share here.
I asked Google Gemini to take the uploaded head shot and “Create an image of a 40 year old woman with a black buttoned shirt, black pants, black belt, black walking boots. Standing in an “A” pose for 3D models. Use the supplied image for her face. She should be 5 feet tall and slightly plump (appropriate for a 50 yo).” The “slightly plump” was because it felt like many models made the starting image look younger. I was trying for it to be more realistic.
Yikes! Not that fat! And she is out of proportion. Here legs are too long and hips and feet too big. So I adjusted the prompt a few times and removed the text about being plump.
Yup! It got worse! Lol!
So next I tried in-painting inside Adobe Photoshop, with “Create a full body image of a 40 year old woman with a black buttoned shirt with black buttons, matt black pants (no shine), matt black belt with small silver buckle, matt black laced walking boots up to her ankles. Standing in an “A” pose for 3D models. She should be 5 feet tall.”
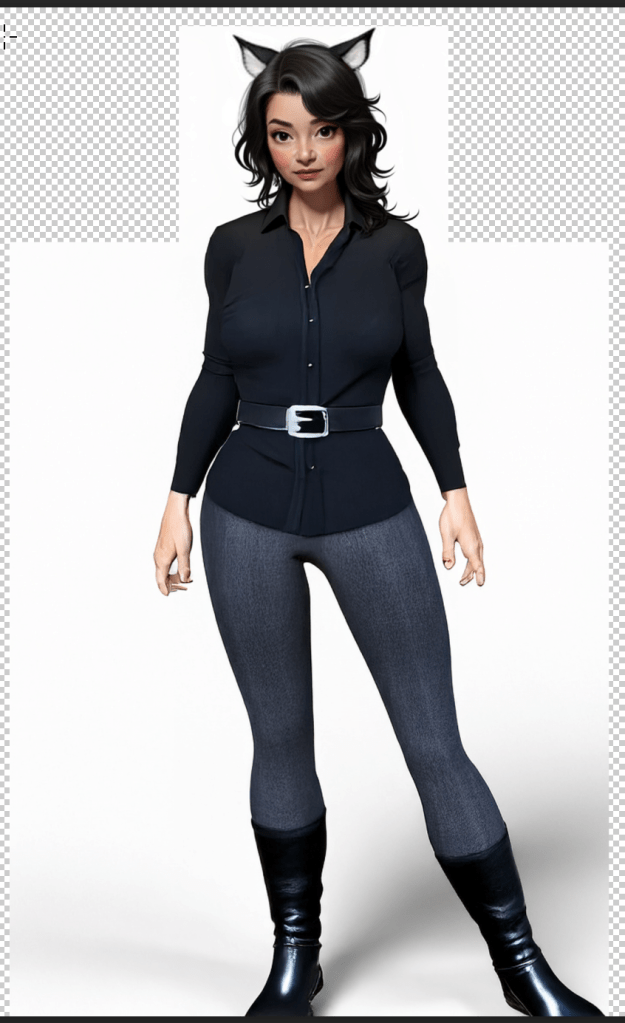
It looks better, but the boots are too shiny and no laces. The hands also look a bit funky. But certainly they took less effort to attempt.

Hey, i just found your site. I am doing something similar but i want create realistic person. It has been 3 weeks since I started from scratch. I tried with flux, i generated hundreds of images but nothing that was acceptable for me…. I wanted high quality for lora training, but close up shots were awesome and detailed but i cant get full body shots, face always suffers even after up scaled…
Then i tried outpainting to get rest of body, still not good enough. Then tried with wan 2.2 to get camera to zoom out from close up shot to get full body, got good results but still not i was looking for…
Problem for me is i want perfection xD Also i have problem with body shapes, i always get fit skinny model or very obese…. I wanted more imperfect body shape like wider hips, or shoulders but no matter the prompt i cannot get it.
I thought getting wan 2.2 text2im and trying with diferent prompts but maybe i should get good closeup and find body i want and paste it onto body, then get wan to get rotation of a body for more diferent poses for lora.
So thats how i got to your site, if you have any advice feel free to share 😀
Also i thought about trying kling ai or openart ai but i think i would pay for it and still i wont get what i want….
LikeLike
Sorry, missed your comment previously. I won’t pretend to have answers to the problems. It really feels like you just have to try different models at times.
One trick that might be worth giving a go is you can define “style” Loras. Want a particular body shape? Try collecting a set of images of people that are similar, then train up a Lora on that set. I quite like QWEN Image Edit for image editing, and people (e.g. https://huggingface.co/ostris/qwen_image_edit_cyclops) have trained Loras around a particular feature (in the case of cyclops, having a single eye). I have not tried it yet, but it might be worth a try (although you asked so long back you probably have it solved by now).
I don’t pretend to have all the answers, but I my best success so far is start with a head, then use QWEN image edit with a prompt similar to “The image is head and shoulders of a male robot. … Expand to full body reference sheet of consistent full frontal view, side view and rear view.”
I will say the newer models are getting better. E.g. I used Nano Banana to ask for “show the character in the following scene with multiple perspectives”. It was okay(ish). But then I tried Nano Banana Pro and it came out much better.
LikeLike