Ambient occlusion is a lighting effect that increases shadows where two surfaces meet. In real life, there is less light bouncing around surfaces in corners or where two walls meet – this is called ambient occlusion. As I am aiming for semi-realistic images in my videos (not 2D cel shading as in most comics and anime) I turn it on.
I was looking around for good settings to use but did not find a clear guide. So here is what I have been doing.
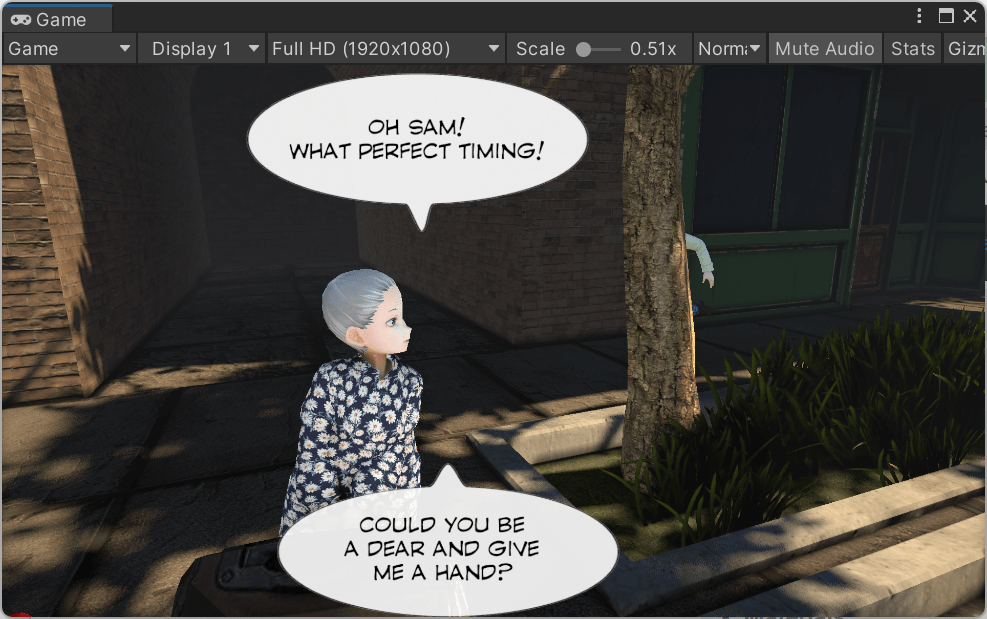
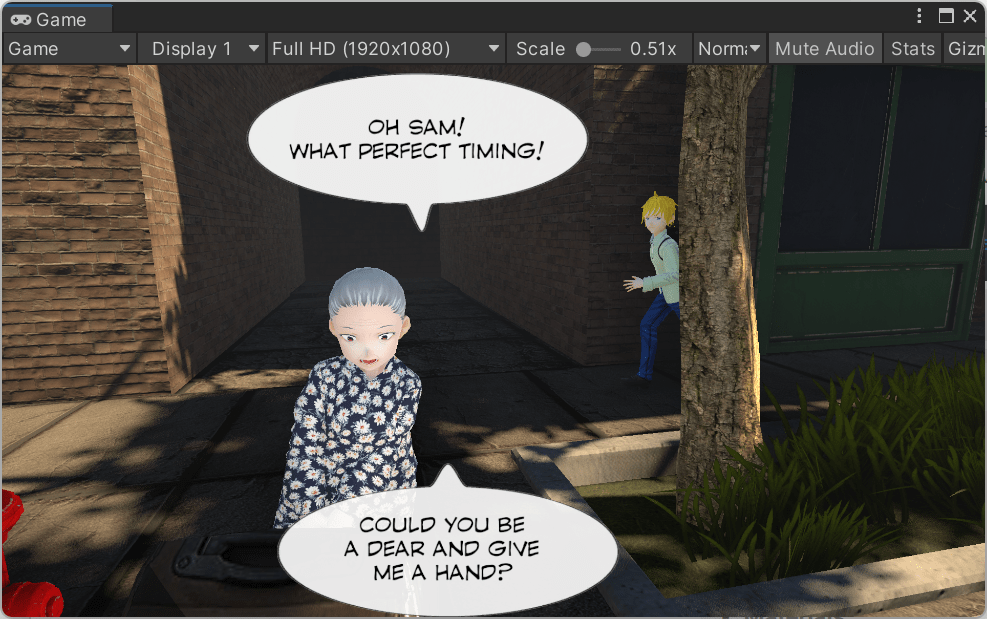
First, here is a camera shot with ambient occlusion off and on to illustrate the difference. First, off.

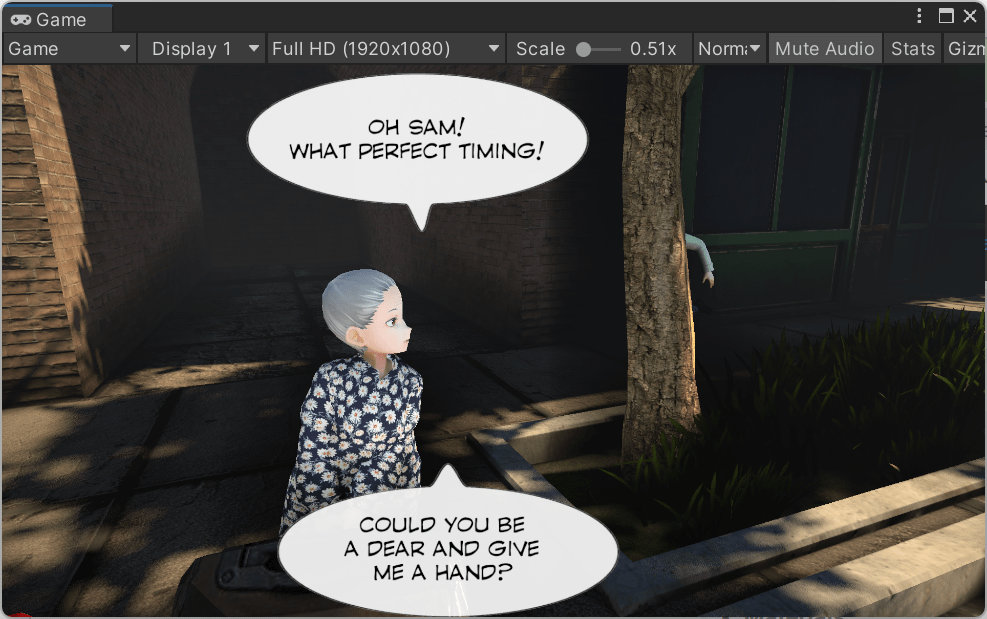
Then on.

Notice the corners where two surfaces (like a wall and ground) meet is now a bit darker. Also the alleyway (left) is darker (not just the joint where the wall meets the ground). This adds depth to the shot, making the image feel less flat. Another example point to look at is the bottom right corner of the two images. Without occlusion the sidewalk curb and street join in a pretty flat color. The second image with occlusion, you can see some shadowing where the two meet.
Note: I am using HDRP without ray tracing at present (this may change). Ray tracing has given me some performance challenges I have not solved yet. Ray tracing uses a different (better) ambient occlusion algorithm, so the settings below may be wrong if you have ray tracing on.
Turning on Screen Space Ambient Occlusion in HDRP
The Unity documentation explains how to enable ambient occlusion, but to repeat:
Under Quality / HDRP, turn on Screen Space Ambient Occlusion.

I think you can set it per camera, but I set it globally by also turning it also on under Graphics (HDRP Global Settings) / Frame Settings / Camera / Lighting / Screen Space Ambient Occlusion.

Then I add an Ambient Occlusion section to the Global Volume I created for my project. (HDRP uses a Volume system to control most of the effects.) The rest of the post goes through these settings as I have not found a good description of what values are good values to pick. I am sure it varies by project, but I found the steps below to pick values made sense to me.

Radius
The Radius setting is how far something can be away and still impact occlusion. (Note: in the following screenshots I cranked up the Intensity and Direct Lighting Strength to their max to make the impact of other settings clearer. ) For example, here is an example when Radius is set to the minimum possible. (Sam is behind the tree – you just see his arm.)
Then with radius increased to 2.5. Notice the alley the effect creeps up the wall from the ground higher. More importantly, if you look closely, the tree is impacting the sidewalk but stops short of reaching the wall.

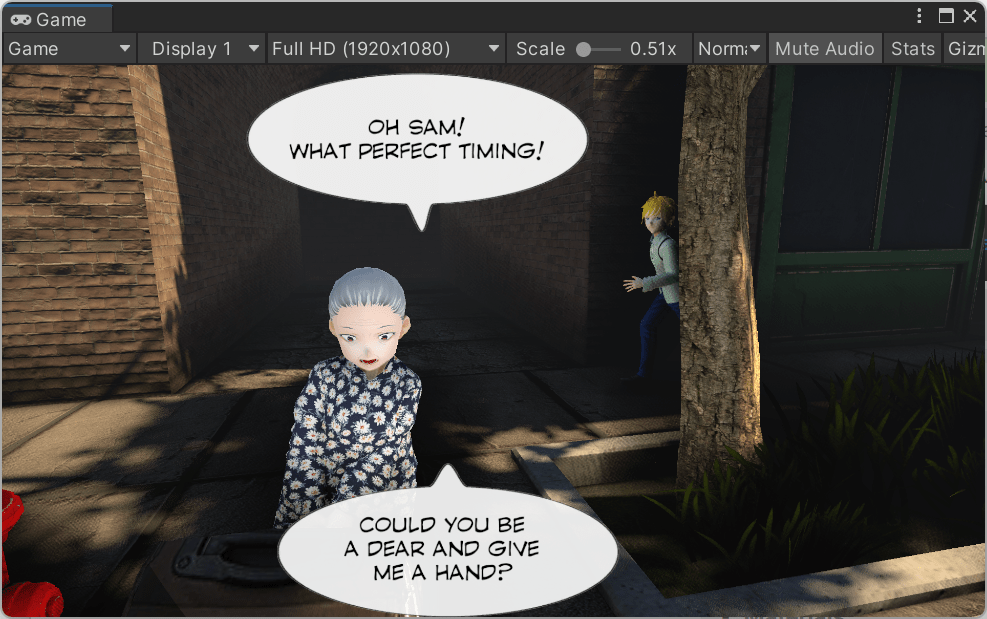
Cranking up to 5, the tree is now impacting the wall. Clearly these settings are over the top, but it illustrates the importance of picking the appropriate radius. How far away from a wall or similar do you want objects to cast occlusion?
For now, I crank radius up quite high, using a value of 5.
Quality and Temporal Accumulation
I set the quality to “high” but then turned off Temporal Accumulation (and set the Direction Count to the minimum). I have had problem with streaking with temporal anti-aliasing and the documentation has some warnings about ghosting that can occur. I don’t want these sorts of problems, so I just turned it off.

Intensity and Direct Lighting Strength
With all the other values decided, I then go back to Intensity and Direct Lighting Strength. My goal is to add a bit more depth, but not go crazy.
Intensity set to 4 for example has Sam (behind the tree) being occluded by the tree, and the wall occluded by Sam and the tree. I think it looks stupid.
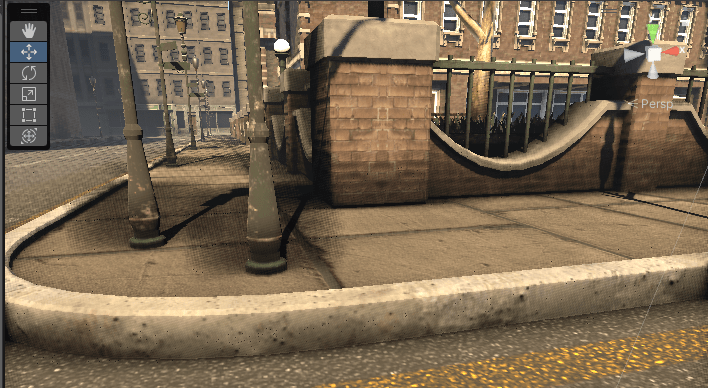
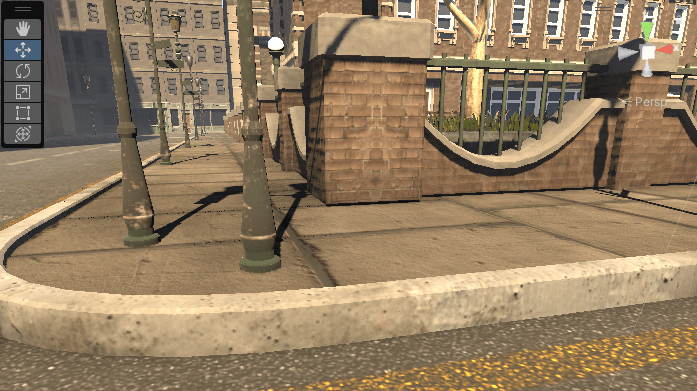
Here is another location – notice the dark patches at the base of the lights. Again, I think it looks stupid.
I am finding an Intensity value of around 0.8 to 1 gives some impact without it being too noticeable. Here is a value of 0.8.
And the light poles again with 0.8.
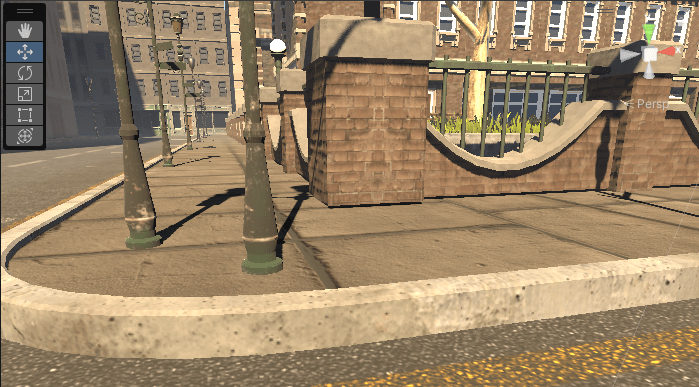
And for good luck, the effect turned off. It just feels more flat.
So for now I am going with a value of 0.8 for intensity, with direct lighting strength set to 1.

Got a better way of picking values? Please leave a comment!
Other reading
- https://vr.arvilab.com/blog/ambient-occlusion – has some screenshots comparing some different ambient occlusion alternatives.
- https://www.gamedesigning.org/learn/ambient-occlusion/ – has some more discussion and screenshots.
