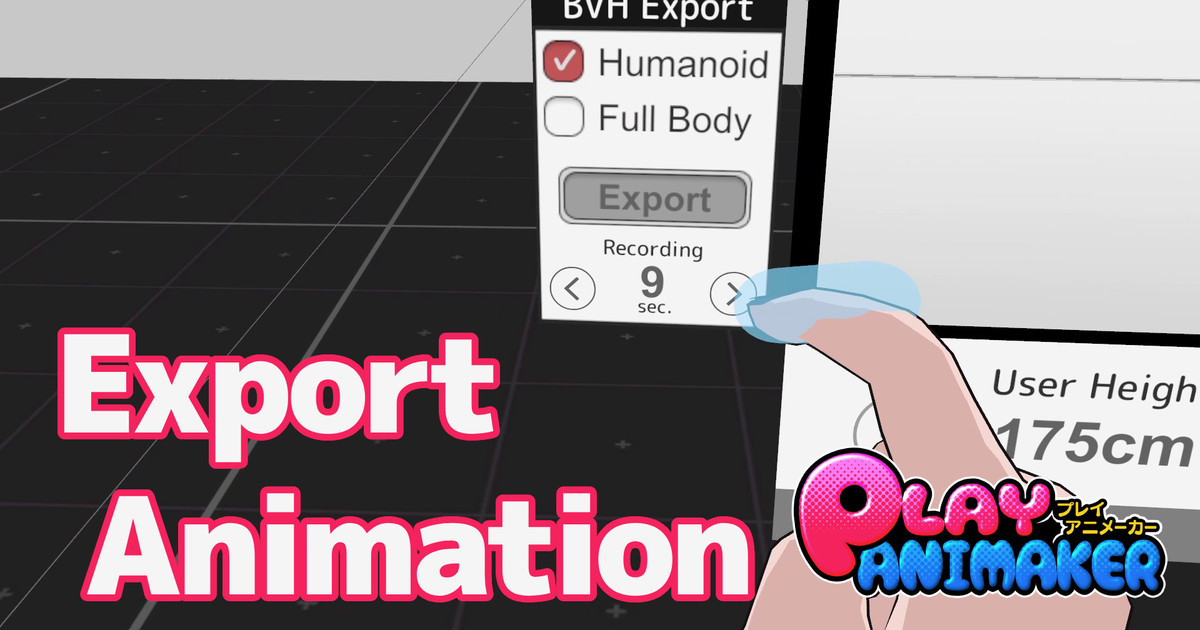
I subscribed to @MuRo_CG‘s “PlayAnimaker” on Pixiv. He is doing some cool work with using VR headsets for Anime style output. You can use your Oculus VR headset and controllers to pose and animate characters.
One of the features supported recently is the ability to export BVH files. These are animation clips in a format Blender understands.
Unfortunately, they are generic animation clip files, not humanoid, and I want to use them with Unity Cinemachine (Timelines, Avatar Masks, etc). So started my journey to convert them to Humanoid clips.
I am using UniVRM, an open source Unity extension for importing VRM files I export from VRoid Studio. Included is a BVH file importer, to create generic animation clips. So I can load the clips, play them, but not use them as Humanoid characters. They don’t load into Animation tracks in Unity Timelines.
Generic to Humanoid Clip Conversion in C#
After hours of Google searching, I failed to find sample code to convert generic animation clips to humanoid clips. Generic clips move bones. Humanoid clips move “muscles” – an abstracted layer over a bone hierarchy that uses values from -1 to 1 to control arm, leg, etc joints on a body. The idea is the clip is easier to port between characters as it says “extend arm fully” rather than “adjust rotation of the bone called X to this new angle”.
Unity also has special support in that you can create avatar masks in Unity Cinemachine Timelines to say “only use the upper body motions of this clip” and combine it with a walk animation where you “only use the hip and leg movements”.
So I embarked on code trying to convert generic BVH bone rotations to Humanoid animation clips. I discovered a fair bit along the way, like Humanoid clips animate “Animator” component properties instead of specifying a relative path down the bone hierarchy. A week or more of evenings, struggling with the code, I managed to get basic leg and body movements working. But it was a hard slog and it did not look as good as the original. I was obviously not doing the right thing. Painful, frustrating, time consuming. Moments of illumination, but lots of dark valleys.
An Easier Path
Then @Emiliana pointed out that Blender can import BVH files and export FBX files! Err, yeah, I knew that! I imported the BVH file, exported as FBX, loaded the FBX into Unity, clicked on the FBX in the Unity asset tree, then in Inspector selected the “Rig” tab and changed the “Animation Type” setting to “Humanoid”.
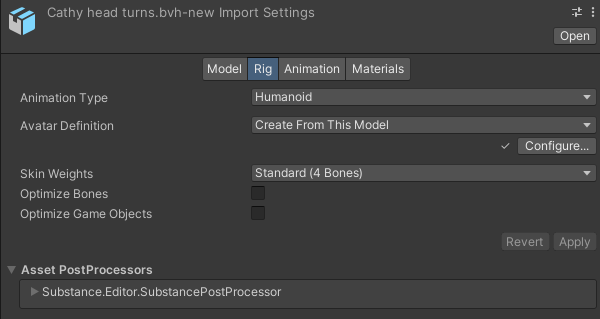
Voila! Weeks of my effort down the drain! Err, I mean, a perfect humanoid animation clip ready to go!
I also duplicated the animation clip inside the FBX file (which creates a “.anim” animation clip outside the FBX file) and then I could delete the BVH and FBX assets, keeping only the animation clip.
Automation
I also found the following script from back in 2014(!) to automate the running of Blender to do the conversion. I had to make a couple of minor changes due to Blender version changes, but it worked! I could import the created FBX file into Unity!
To run the conversion,
blender --background --python convert_bvh_to_fbx.py -- myclip.bvh
The script is as follows
import bpy
import sys

#Get command line arguments
argv = sys.argv
argv = argv[argv.index("--") + 1:] # get all args after "—"
bvh_in = argv[0]
fbx_out = argv[0] + "-new.fbx"

# Import the BVH file
# See http://www.blender.org/documentation/blender_python_api_2_60_0/bpy.ops.import_anim.html
bpy.ops.import_anim.bvh(filepath=bvh_in, filter_glob="*.bvh", global_scale=1, frame_start=1, use_fps_scale=False, use_cyclic=False, rotate_mode='NATIVE', axis_forward='-Z', axis_up='Y')

# Export as FBX
# See http://www.blender.org/documentation/blender_python_api_2_62_1/bpy.ops.export_scene.html
#bpy.ops.export_scene.fbx(filepath=fbx_out, axis_forward='-Z', axis_up='Y', use_anim=True, use_selection=True, use_default_take=False)
bpy.ops.export_scene.fbx(filepath=fbx_out, axis_forward='-Z', axis_up='Y', use_selection=True)
I am thinking to extend this script a bit more to perhaps watch the directory where PlayAnimaker writes out its files and auto-convert the files into FBX files in a Unity directory. Saves me a manual step per clip.
Unity Only Solution?
So then I thought, I wonder if I can load the Bvh file directly into Unity, export as a FBX using FBX Exporter in Unity, then import the FBX file, set to humanoid, and extract the animation clip. Then I don’t need Blender!
But no dice. The Unity FBX Exporter (4.1.2) throws an exception (the “parent” of a bone is null). The Bvh importer code might be taking some short cuts on the object it creates in the scene. Not sure. I might come back to this later.
Conclusions
Why am I doing all this? I am experimenting with short animation clips for web comics. Early days still, but doing “comics” avoids the need to worry about sound. I could do static images, but adding video I think adds a bit more depth. My goal is to build up a tool chain where I can create episodes fairly rapidly. Using VR headsets and controllers is a part of that story, so I can create custom animations of at least upper body movements.
I also use VSeeFace for this as well, but sometimes different tools are easier for particular types of shots. I find I use a mix of different tools and combine them in whatever way makes the most sense. For example, I use pre-constructed animation clips for poses of facial expressions rather than live animation. It just seems to work more accurately for me, and facial expressions are really important to convey emotions.
