The following is how I upgrade my 2021.2.0b5 projects to 2022.1.1f1 (my new baseline version). I am doing this as there have been a number of relevant fixes/improvements in Sequences and HDRP that I want to take advantage of. (2022.2 looks interesting as well as there appears to be a new water rendering system built in.)
As background, I am working on a motion webcomic, using Unity as my animation rendering pipeline to create small video clips. See episodes.extra-ordinary.tv for example episodes.
The following screenshots describe the steps I take.
Make a backup
BEFORE YOU DO ANY OF THE FOLLOWING, MAKE SURE YOU HAVE A BACKUP! Things do go wrong during upgrades sometimes.
Upgrade project to 2022.1f1
Open up Unity Hub, find the project to upgrade.
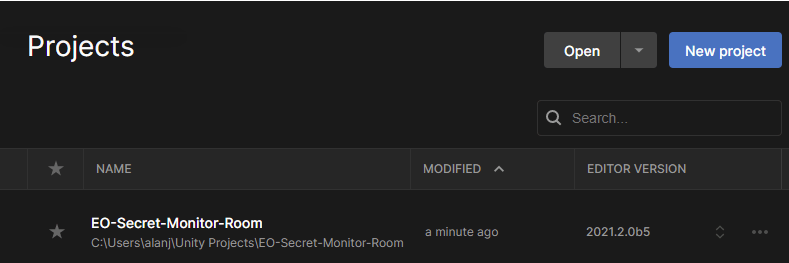
Change the Unity version number to the new platform version. Unity Hub will prompt to confirm the upgrade.

When you click the “Open with 2022.1.1f1” button you will get another confirmation box to approve.

Then the Unity Editor itself will want to get in on the action!

Wait for upgrades to download and recompile, such as all the “features”. This can take some time to complete (a small project took almost 10 minutes). The new Unity Editor version will pick up new versions of feature sets automatically due to the based platform version upgrade, so it’s basically a full rebuild and reimport.
Open all the windows again
The upgrade loses all my window layout settings, so I go around and start opening them all up again and position them where I like. (I saved a “Layout” so can load this up using the Window / Layouts menu.)
Install HDRP support
First, open the package manager, select “Unity Registry” for the packages dropdown, expand the “High Definition RP” item, and click Install (bottom right corner).

Wait some more.
Eventually a HDRP upgrade wizard will appear reporting all sorts of problems with the current project. Scary stuff. However there is a button with big friendly writing on the front cover of “Don’t Panic”… (oh, that was from a different story). I mean, click the “Fix All” button and cross your fingers. (This window will open every time you restart Unity until you uncheck the “Show on start” checkbox at the bottom).

Guess what! You get to wait some more!

I select the default “Create One” button.
If things go well, all the red marks are replaced with green ticks!

Import shared package
I have a SHARED package I export that contains all my characters, props, animation clips, and so on that I share across all locations. (I create a new project per location to improve the performance of the Unity Editor.) So next I import that package. It also includes a copy of core asset store purchases (which are not available via packages unfortunately), such as the RealToon shader that I use for my characters. This ensures all projects use the exact same version.
Go to the menu item Assets / Import Package / Custom Package and select your package file. (I create the package using Assets / Export Package, deselecting everything, then selecting required directories. For me I have a SHARED directory under which most things go. I tried to move RealTools under there as well, but it has absolute paths in its source code so I had to leave it in its default position. Leave the “include dependencies” checkbox selected.)

Click “Open”, then… wait for it… wait some more while it thinks! It will eventually ask you want you want to import. It has compared all the files, so will only reimport files that have changed by default. So click “Import” to proceed with the default recommendations.

This copies the files into your project, triggering (you guessed it!) another recompile.
Animation Rigging 1.2
The feature set for Cinematic Studio in Unity includes Animation Rigging 1.1 for 2022.1.1f1. However version 1.2 has some important bug fixes for when working with Sequences. Check to see which version you have via package manager.

To upgrade, click the little “+” drop down in the top left corner and select “Add package from git URL”.

Type in “com.unity.animation.rigging” into the prompted field and click “Add”. This will pick the latest version by default (which as I write this is 1.2). This recompile is a few seconds.

More lost settings
I also find the upgrade loses settings for the size of 3D icons etc. I tend to shrink them quite small, or even turn some off, using the drop down menu in the top right corner of the Scene window.

It’s Pink!
Next comes the hard part. You have to decide which assets to upgrade to a HDRP shader. A first stop can be to use the HDRP Wizard window again. If you closed it, go to the menu item Window / Rendering / HDRP Wizard. Then click the “Convert All Built-in Materials to HDRP” button near the bottom of the window.
To help calm your nerves, you will get a little prompt.

It will then go through all the materials in your project and convert known standard shaders from the old built-in render pipeline shader to an equivalent HDRP shader. If you have used custom shaders (or assets your purchased from the Unity Asset store does this either), you are ON YOUR OWN! Those assets will look pink in the scene view (they are pretty easy to spot!)
Example object showing materials used. The red box is where “pink” would appear for materials broken during the upgrade.
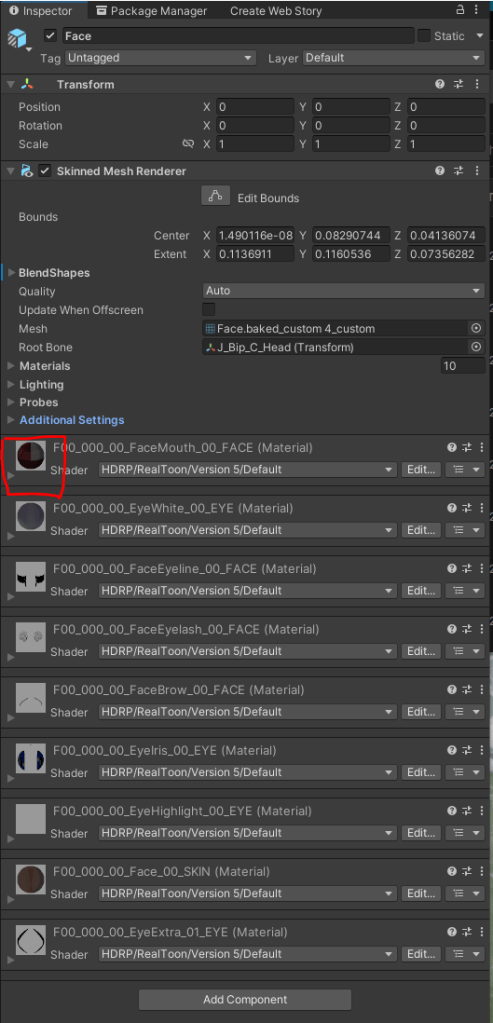
Personally, I try converting pink materials of assets to a standard “Lit” HDRP Shader, or even the RealToon HDR Shader (like above). I do this by clicking on a pick object in the Scene window, then looking at the materials it uses (basically I poke around in the scene hierarchy window clicking on children until I find components like “Skinned Mesh Renderer”. Usually the shader summarizes the materials used, so they are pretty easy to spot when pink.
Can things go badly wrong here? Yes! I had a few materials that when I converted to a supported shader, it did not remember all the textures and settings. So I had to hunt around trying to work out the right textures again to associate with the material. It does not always go smoothly.
Does anything else go wrong?
Yes! Sometimes! The above project for example lost one of the prefab bindings for example! I had to reimport and reposition the character for the existing shots. It probably was my fault, but things do go wrong during upgrades. The backup advice is to be taken seriously.

I had to drag the character (Abigail) back into the scene and reposition her by hand. I don’t think she was impressed!

