In my last blog I introduced this new series on applying machine learning to screenplays with the goal of automating some of the tedious steps of creating an animated cartoon using 3D character models and animation. Even if you are not in the animation space, you might find it interesting in an introduction to the space.
You can find the code and the results from running it on GitHub. You can copy the notebook from here, or the example code (as below I use screenshots to preserve the original formatting better).
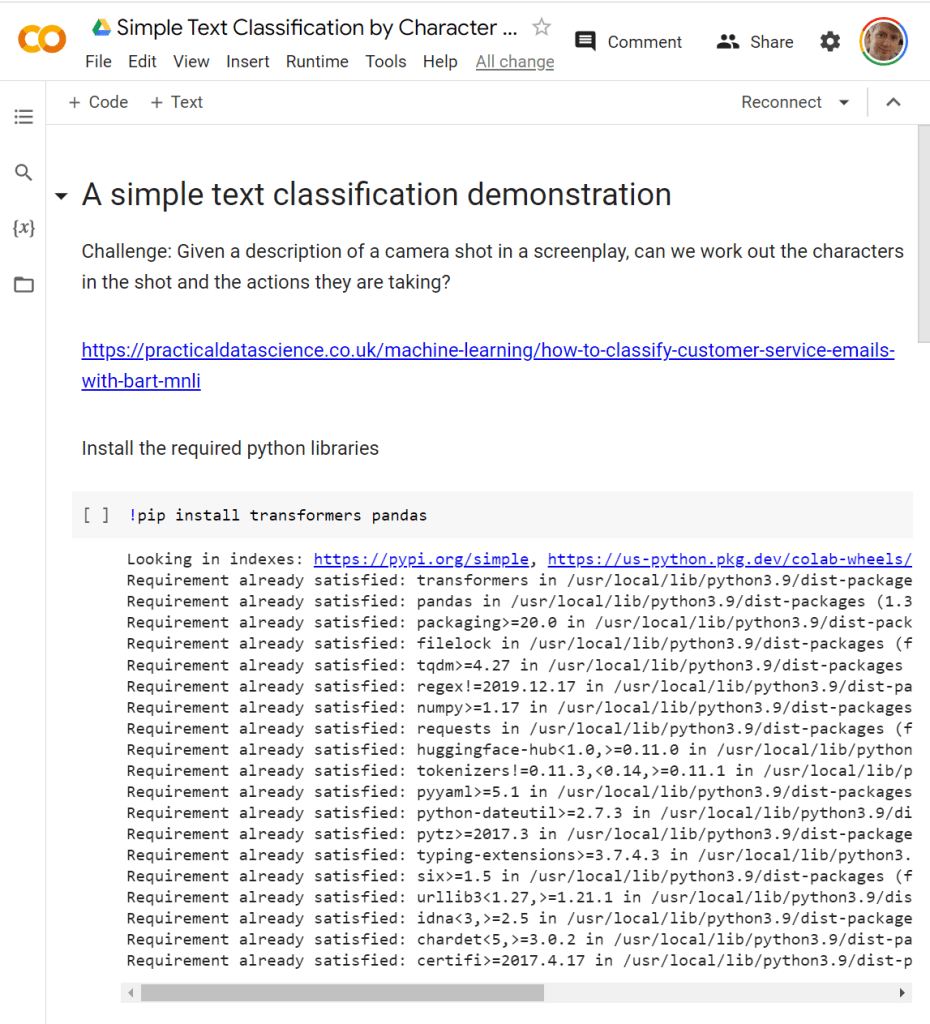
The Experiment
Can machine learning correctly identify characters in a scene from the script. their actions (for motion animation clips), and their emotions (for facial poses). If the characters and animation clips can be identified, they can be dropped onto a Unity Timeline saving me the effort of looking them up by hand.
Tools
The above GitHub link is a link to a Google Colab project. You can read all the results from the GitHub page (it includes the output of running the scripts), or you can copy the project and run it yourself. Google Colab allows you to create Google’s version of Jupyter notebooks in Google Drive. It spins up a VM for you where you can run Python code. It’s pretty useful as its great for collaborating with others, or just as I did for saving a copy to GitHub. And each project is a clean environment so no need to worry about different Python libraries for different projects interfering.
I based this first test on a blog post on how to classify customer service emails using BART, a machine learning model from Facebook (now Meta). The model has been pre-trained on a lot of data saving a lot of effort. This means it already understands English reasonably well, which we are going to take advantage of.
It is common to “fine-tune” a pre-trained model like this by teaching it additional things specific to your problem space. These get added to the base model. For this first experiment I am going to skip that and use the model without modification.
Preparation
Google Colab (like Jupyter notebooks) allow text (formatted using Markdown) to be interspersed with Python code, allowing you to nicely annotate the code and display the results of running the code. (It can also plot graphs and more.) To preserve formatting, I copy and paste images of the output here. If you want to copy the raw text, use the GitHub link above.
The first instruction (the line starting with a “!”) escapes to a shell, allowing to use “pip” to download and install additional Python libraries for the code to use.
You click on the “[ ]” to cause the code to be run. It remembers the output from the last run for reference, as shown above.
Next, I define a variable to define the list of topics I want to find. I include a list of character names, actions (walk, run, etc), and emotions which impact facial expressions. The question is whether classification can identify which characters, actions, and emotions are in the scene.

Next, load up the Hugging Face pipeline that is going to make it possible to run the tests.

Then create a classifier. With “Zero-shot classification” you do not need to train the model. It uses the text of the labels (it can be multiple word phrases) to identify classifications with no training data. It does this because the model has learnt the relationship between words and phrases in the text. Note that the model referenced is 1.6Gb – so expect a big download to occur.
Also note that this example uses “multi-label” classification. Single label classification can be useful for sentiment analysis. Are they overall happy or unhappy in the review? Multi-label classification assigns multiple labels. In my case I want to find all the characters, their actions, and emotions, so multi-label is more appropriate (which is the default in the following so no special code was required).

To make printing the results easier, I wrote a little function that prints all the labels that are returned with a score of 0.5 or higher. The classifier() function returns a dictionary with the original text and two new arrays — “labels” holding the selected labels and “scores” holding the score for each label. These two arrays are sorted by high to low score. The following python code tells it to loop through all the labels in order with “index” set to the array index and “label” set to the value, thanks to the enumerate() function, but only including values where the “scores” array for the same index is 0.5 or higher.

With these few lines we are ready to run some tests!
Tests
First, let’s try a nice simple statement.

The result repeats the input sentence followed by the labels with score of 0.5 or more. So it successfully picked up “Sam” (direct mention), “sit” (from “sat down”), and “run” (from “ran”). With lower weights it also picked up “worried” and “shy”. These have lower weights, and might be predictions based on why Sam was running to the chair. But considering there was no training, not bad!
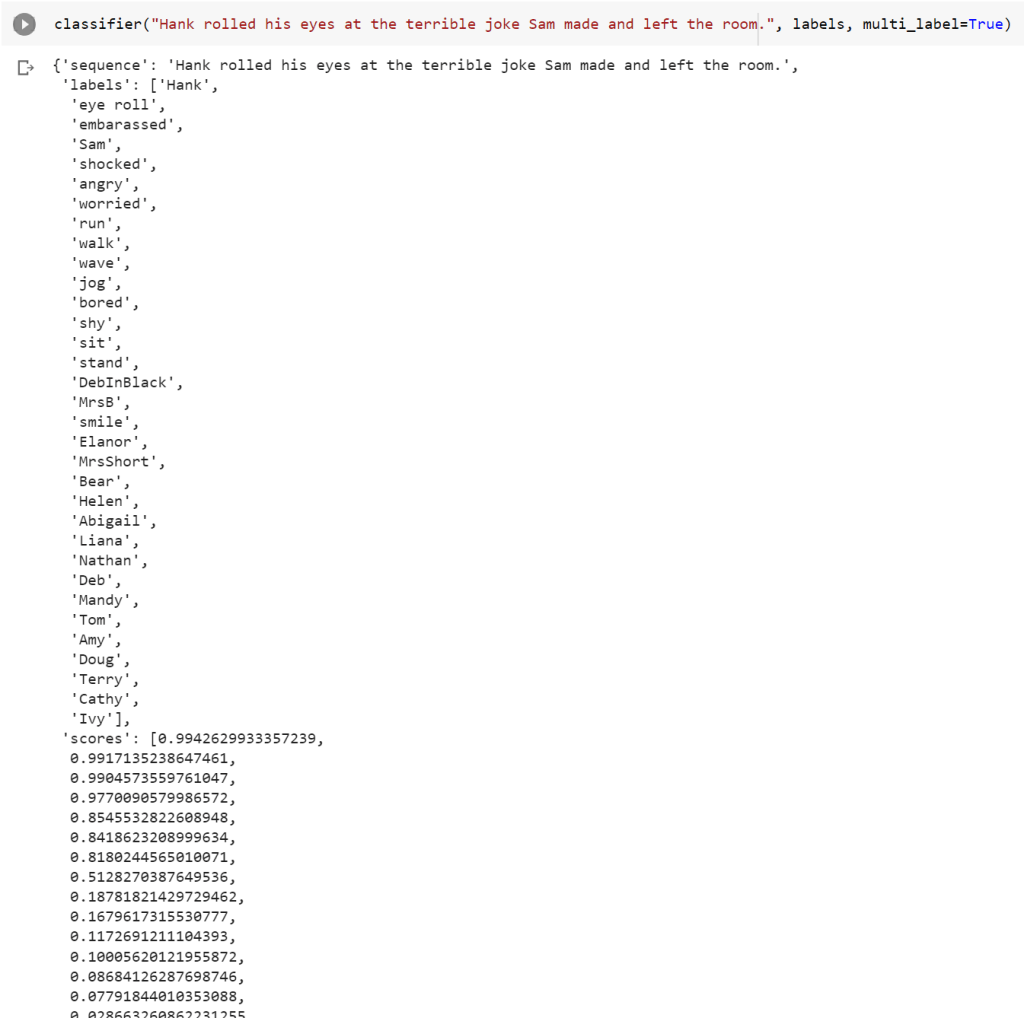
Next, I added another character’s name even though they do not actually appear in the shot. In this case I don’t actually want Hank to appear in the scene, but it’s not smart enough to know that with such a simple classifier.

Adding in a bit more color about running to the chair, would it pick up the emotions better? Not really, but I was not clear in my wording. It might have picked words like “shocked” because of “gasping”. So careful selection of words when writing the screenplay may improve the quality of results.

I also tried “MrsB” and “MrsShort” (no spaces) as identifiers for two characters. I was curious to see how the classifier coped considering their real names would have spaces. I was pleasantly surprised.


Notice that “threw the book at Hank” turned into “angry” as the top emotion. Not bad! But it picked up a lot more emotions than I was expecting. Looking at the detailed results can still be useful to work out why. For example, I just picked 0.5 as a cut off. Is there a better split point? Looking at the scores below you can see a bunch of scores 0.8 and higher, then one just above 0.5, and the rest with much lower scores. So tinkering with the threshold is probably not going to be a productive path forwards to improve the quality of results here.
Conclusions
This was a first experiment, trying out zero-shot classification with no training based on my particular use case. It worked pretty well, but it’s not perfect.
- It included unwanted characters (like “Hank” from “Hank’s chair”)
- It included more emotions than I wanted
- Actions and emotions are not associated with specific characters
So it’s an interesting first step, but certainly not a production quality final solution. It leads me to think that understanding parts of speech may help. Can “Hank’s chair” recognize “Hank” as irrelevant (it’s a possessive adjective, not a subject). Can I associate emotions with specific characters?
“But why aren’t you jumping directly into the latest ChatGPT technology?” Because different technologies are best suited to solve different problems. I plan to explore several techniques to better understand their individual strengths. This is just a first baby step.
