I subscribe to MasterClass.com and a new lesson series from James Cameron was just released (yes *the* James Cameron) where one of the lessons talked about focal lens. (I also came across a great YouTube channel with some great videos on tricks of the trade for movie making from StudioBinder including some of these points to consider during storyboarding.)
I am, as a hobby, trying to create a simple lightly animated comic. It has been a fascinating journey learning the ins-and-outs of the trade. I may even publish an episode one day! (Don’t hold your breath!) I am using Unity (the games engine) to pose and animate 3D animated characters using locations purchased from the Unity Asset Store. In this post I wanted to explore the importance of “lenses” in motion picture making, but as applied to Unity.
In Unity, there is a main camera. Unity Cinemachine is a package you can install that adds additional tools such as “virtual cameras”. These are separate game objects that take control of the main camera to change its position and other settings. For example, to have a camera follow a character as they walk, you can create a virtual camera with tracking turned on with an offset from the character.
Here is an example of a camera with an over the shoulder view

Here are the virtual camera settings.

To have the camera follow the character, I used Transposer mode for Body with an X offset slightly to one side, Y offset of about head height, and Z offset of 10 meters behind the character. The camera aim is Composer pointing at the same character as being followed, but again with X and Y offsets similar to the above, so it is looking over the shoulder (not looking at the character). As the character moves, the damping values make the camera follow smoothly (not the focus of this post).
So, how to get the camera closer to the character? Well, the most obvious approach is to adjust the Z offset so the camera is closer. (You may need to fiddle with the X and Y offsets to keep everything in shot nicely.)

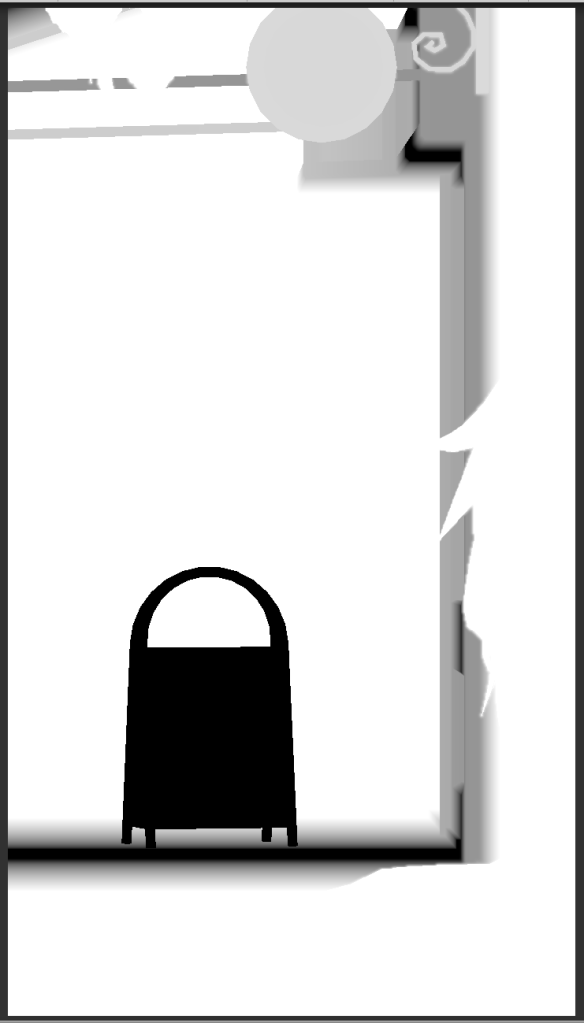
Another approach is to instead adjust the Field Of View value. For example, the following kept the old Z offset and instead adjusted field of view from 8.4 down to 4.

Can you see the difference? The character is about the same size, but the signboard has a very different size.
And this is where the James Cameron lesson on breaking down a Terminator scene comes in. When looking over the shoulder of Sarah towards Reece, Sarah’s head is large in the foreground on the left. Reece is small(ish) in the distance.

A similar effect is used with the terminator and his gun. The gun is in the foreground and large (shot slightly upwards for a more dominating feel).

However, when the Terminator is in a scene moving through the crowd searching for Sarah, you don’t want the Terminator looking small, so the camera is further back (larger Z offset) with a narrower focus so things in the foreground do not dominate as much. Again, camera angling up.

When the Terminator finally sees Sarah, you have the opposite camera angle, looking down on Sarah, foreground characters are larger, she is smaller. Each shot is carefully designed to reinforce the desired feeling.

There is another aspect beyond field of view and Z offset, which is focus (Depth of Field / Lens Blur / …). You can specify what distance to focus on and the depth of focus. You can animate these directly on the main camera, or use the Cinemachine Volume Settings Extension to associate a profile with a virtual camera.

This can be used to blur foreground and background of a scene. Here I set the focus on target to the be sign board then increase the aperture.

The end result is the board is sharply in focus, the rest is blurred (a bit). It helps draw the eye to the signboard (yeah, I know, would have been good to put some writing on it!) Compare to the other images above and you will see the lamps in the distance and the character in the foreground are slightly blurred, but the signboard outline is crisp.

The visualize checkbox can help you understand what will be in focus and out of focus, which is especially useful if you don’t specify a target and instead control the offsets by hand. The black areas will be in focus. Decreasing the aperture increases the black area. You can then adjust the focus based on the depth of the object being looked at.
There are other camera settings you can also explore in Unity, such as “Bloom” (adds blur to bright things in your scene, with adjustments including threshold, intensity, and sample distance). This can be used to brighten bright item, or by lowering the threshold can add a softer feel to an overall shot. (See my previous post on Fruits Basket scene analysis for anime examples of Bloom.)

When planning out a shot, it is worth thinking through these issues: camera distance, field of view, camera angle, depth of field, bloom, camera flare. You should not overuse them, but rather use them to emphasize particular moments in your creation you wish to reinforce.
ADDED JULY 14: Someone shared a great tweet showing the effect of animating the field of view and distance at the same time (a Dolly Zoom). The focus character stays the same size, but everything else around them changes.
